Showing posts with label pets. Show all posts

Friday, March 28, 2014

Photoshoot with Nicole!

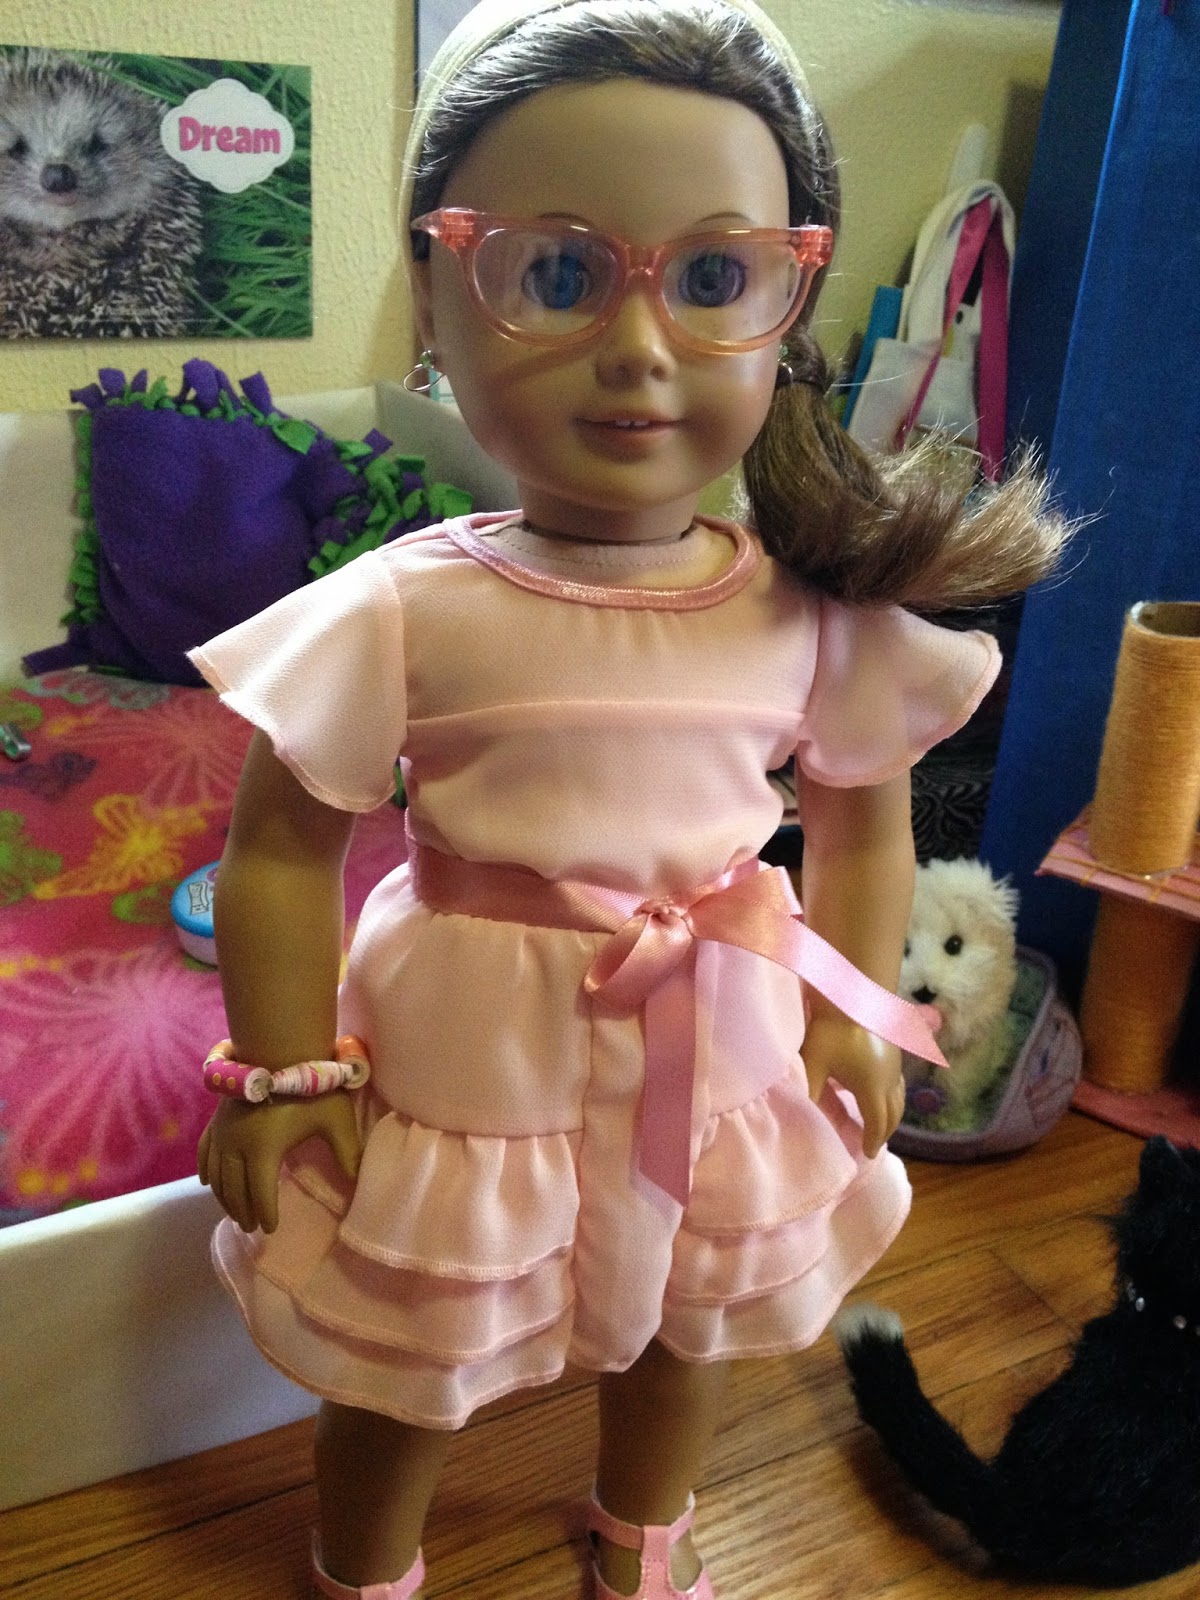
Hey everyone!! I just wanted to do a quick post here because today one of my best friends, Nicole, came over! We took a lot of pictures and had a really fun time, and we wanted to share them with you!!! So, without further ado...


Don't you love this hairstyle?!?


Sweet Licorice!!


Hmmm.. time to change out of the fancy dress. What to wear??


Here we go!!


Better shut the door so Coconut doesn't get in!!


Which shoe to wear?


Look what Coconut found!


What a cute squeaky toy!!


Awwww..


Thanks for reading!!

~Hannah and Nicole

Monday, August 26, 2013

Crafty Monday Part 1: Dog Biscuits!!

Hi everyone!! I had a great week and I hope you did too!! As much as I love this blog, it is always nice to have a little vacation!! School is off to a great start for both Iman and myself! I'm so excited for this year!!! For today's craft I whipped up a bit of salt dough and made 3 different types of dog biscuits. Here is what you will need:

  • Salt dough (water, flour and salt)
  • Toothpick
  • A clean surface to work on and dry your finished biscuits- I used a piece of foil. 
I made a little bit of salt dough as I always make waaay too much. I used a recipe that is roughly 2 parts flour, one part salt, and one part water. (As much water as you need to make it doughy)

Here is my dough. :)

Make four small balls and roll a short snake...

Then smoosh them together carefully and shape them a bit to get a traditional dog biscuit. i then poked 3 holes in the middle with a toothpick which you will see in a later picture.

Form a shape like this...

And poke some holes for a cute little modern-y dog biscuit!!

It's hard to tell the size in this picture but I rolled two smaller balls and one bigger ball...

Then rolled them like this...

Shape the smaller two into crescents and then smoosh them onto the ends of the big roll to get this shape. I also poked holes in this one.

Here are the final 3. You can either bake them but I just let them air-dry overnight. 
Come back tomorrow to see the finished product and how I painted them!!
Thanks for reading!!!!

~Hannah (the human) 


Monday, July 29, 2013

Crafty Monday: Cat Toy Glove!!!

Hi everyone!! I am on a roll with doll sized cat toys! We have a toy like this that my cat Zippy LOVES, but it was dragged off somewhere I and I couldn't find it. Here is a similar toy...

I am not sure why there is all that space on the top... but this is where I was inspired.

You will need...
  • felt 
  • ribbon (I used strips of felt)
  • needle and thread
  • stuffing (optional)
  • sharpie or fabric marker
  • scissors
I got a pack of felt at Michael's for less than a dollar after Christmas because it was Christmasy with the candy patterns.


Start by measuring a strip long enough to wrap around the fingers (not including the thumb) and have a bit of overhang on the end by the tips of the fingers.

I didn't think to have overhang on the end. Stitch the end of the strips together to make it tight.


Now while the glove is still on her hand stitch tightly between her fingers. The felt has a bit of give which helps the fit. Make sure to make your stitches clean, secure, and neat.


Do the same between the other fingers. This makes it like a glove and I found that it stayed on the hand with no problems.


Now get out your ribbon and cut 4 pieces the length from the knee to the ankle or however long you want the toys to dangle. I cut a long rectangle, cut it in half and then each half in half to make 4 long strips.

Next I drew 4 fish shapes on different colors of felt, cut them out, and decorated them with a fabric marker. You could add embroidery details or even cut an identical shape and with a little stuffing make mini stuffed toys. 

Next stitch the tail of each fish to the end of one of the strips. I made the strips blue so the fish are "swimming."


Now line up the four strips and stitch it together. You should overlap the strips to make them the same length as the end of the glove.

This is where the overhang comes in handy. Take off the glove and stitch the top edge of the strips to the very end of the glove.

Here is the finished product. Hanna is waving it around to catch Licorice's attention.

Licorice is coming to investigate.

Licorice is in full attack mode!! Look out!!!!! ;)
Thanks for reading!! I hope everyone is having an enjoyable summer as we realize that we are nearing the end... :,(
Check back soon for more fun posts!! 
~Hannah (the human)


Monday, July 15, 2013

How to Make a Cat Scratching Post!

Hi everyone!! Today is Monday and we will start the week off with a craft!! This is not original (sorry) but rather an adaptation of My Froggy Stuff's videos How to Make a DollCat Scratching Post Condo and How to Make Pet Stuff for Your Dollhouse and LPS. Please watch these videos as it helps to see someone do it and not just pictures!! ;) I am going to be sizing this appropriately for (AG) Licorice! I have two cats (real life) so when I saw the video I noticed it wouldn't be for scale for American Girl pets. Here goes...

You will need:
  • Cardboard tubes of different lengths (toilet paper, paper towel)
  • Yarn the color you want the rope on your post to be (I used tan to make it realistic)
  • Cardboard, stiff paper (I used a paper plate)
  • Scissors
  • Hot glue works best, but I used glue dots
Here are all of my supplies!!!

I started with the small tube. I put two glue dots (or you could use hot glue) on each side of the top of the tube...

 Push the end of your yarn into the glue and start wrapping!! The glue keeps it from slipping. 

Wrap snugly around the tube, but not so tight that the tube changes shape.

Once you get near the end of the tube, add more glue to secure the ends. 

Once the tube is covered, push the yarn into the glue and cut the end. 
Now cut a square of your stiff paper and wrap it with paper. I used purple tissue.

I cut a glue dot in four and smooshed them on the end. (or use hot glue dots) 

Press it firmly on your base. I have tried a couple of ways to close off the top, but none of them have worked or looked nice. If you make this and figure something out, leave a comment as I would love to hear how you did it!!! :D

Final Product!! :)

 I made a cat condo thing when I had glue sticks for my hot glue gun (I ran out) and I made it with two wrapped toilet paper tubes, a wrapped paper towel tube, and two bases.


The top base is wrapped with yarn, and I cut pieces of blue yarn and tied them into a pom pom. I then tied it on a string and then glued it to the bottom of the base. I used a lot of hot glue to make it stable.  I kind of overdid it on some of the spots with yarn, and then it looks a bit sloppy. :( 

One thing I like to do is add dots of hot glue on the bottom of things as grippy dots so the stuff I make doesn't slide on my wood floors.

 
Licorice is inspecting her new cat post. I think she likes it.

She looks like a queen on her throne. :)

Thanks for reading!! We will be back tomorrow and next week I will feature as our craft...

My Trundle Bed!!!

Woot woot!!! :) Feel free to leave us a comment!! (or two) We love hearing what you have to say!!!
~Hannah (the human)
P.S. Thank you all so much for the kind birthday wishes, I had a great day and weekend!!!!!!